
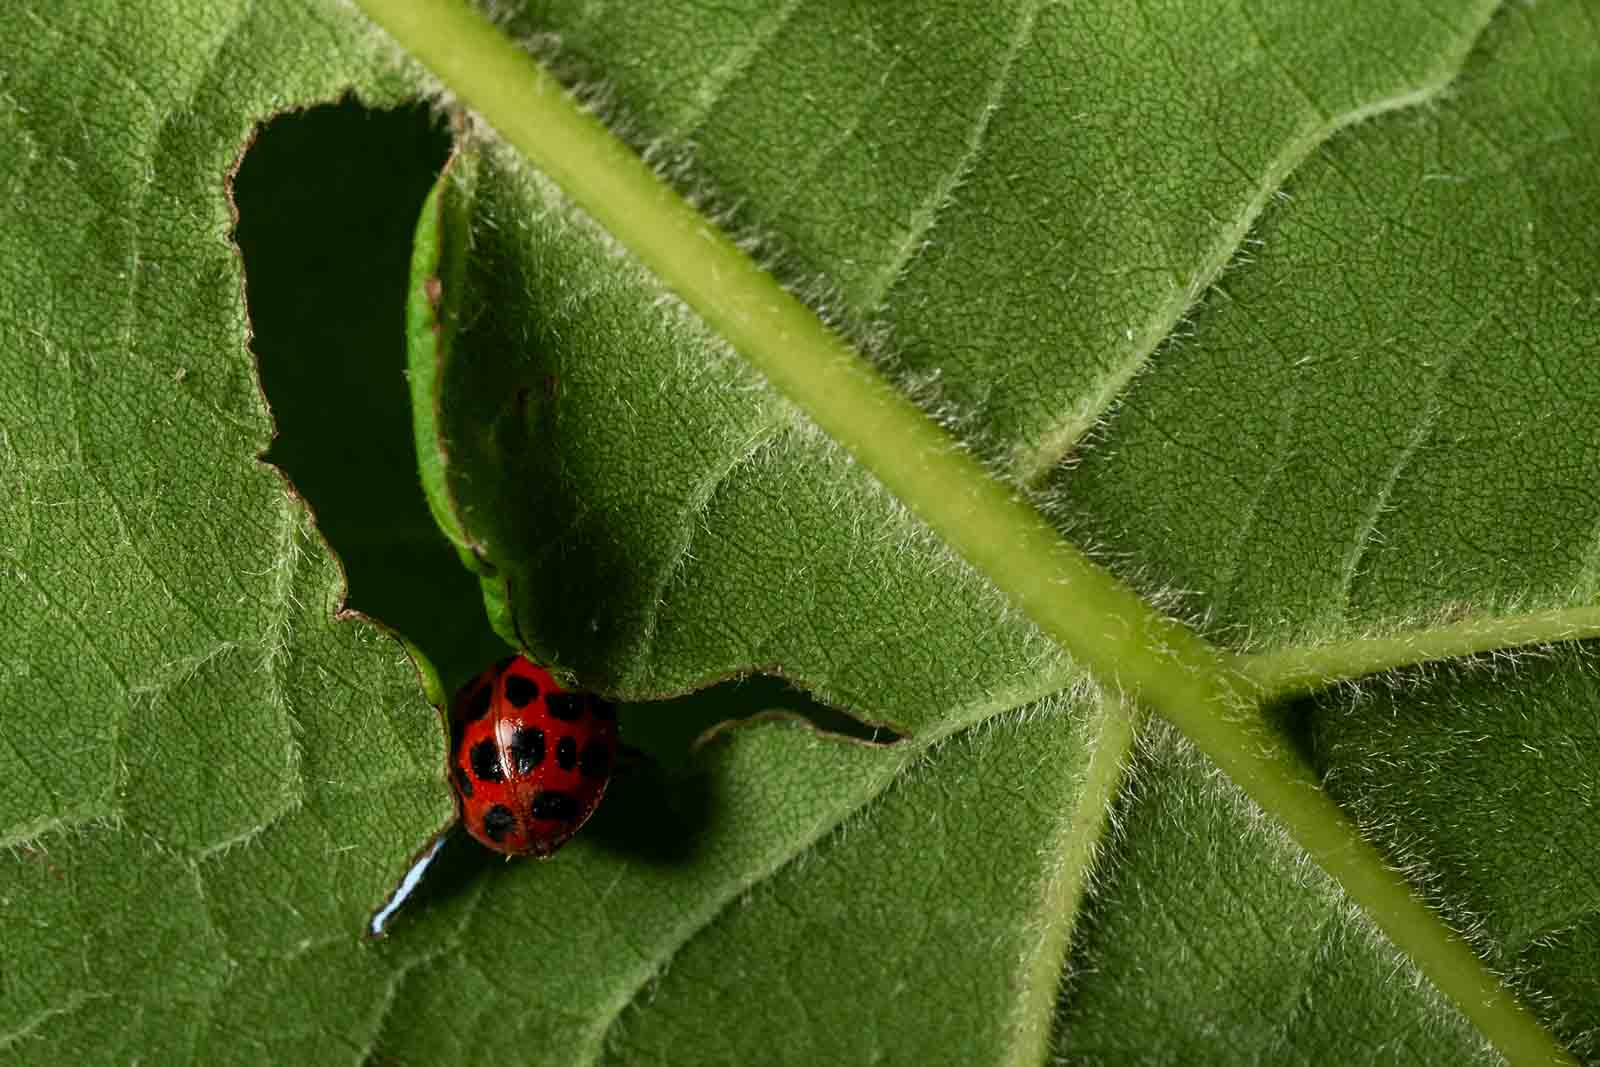
Growth as an artist is a constant struggle. This is especially true with insect macro photography, which offers an incredible window into a world we can barely see. Magnifying tiny subjects to reveal the compound eyes of a dragonfly or the mechanical precision of an ant is incredibly rewarding.
But capturing these details is a technical challenge. When working at extreme magnifications, the slightest breeze feels like a hurricane, minor hand tremors ruin your focus, and the natural light is almost never enough.
Have no fear, I am here to help. With the right gear, a solid understanding of insect behavior, and a few advanced tricks, anyone can dramatically improve their close-up images. Here is my comprehensive guide to mastering insect macro photography.
Tip 1: Select the right macro lens
The foundation of macro photography is getting incredibly close to your subject. Standard lenses usually have a minimum focusing distance of about 30 centimeters. Try to get closer, and everything turns into a blurry mess. A dedicated macro lens solves this by letting you focus mere centimeters away, giving you a true 1:1 magnification ratio.
Focal length is your most critical choice here. Short lenses (35mm to 60mm) are lightweight and affordable, but they force you to get uncomfortably close, which almost always scares living insects away.
Mid-range lenses (90mm to 105mm) are the sweet spot. You get enough physical space to avoid casting a shadow over the bug while still achieving maximum magnification. Long focal lengths (150mm to 200mm) are great for highly skittish insects like butterflies, but they are heavy and expensive.
Not quite ready to buy a new lens? Extension tubes are a fantastic, budget-friendly alternative that mounts behind your standard lens to let it focus closer.

Tip 2: Utilize effective flash diffusion
Macro photography is a constant, unrelenting battle for light. Because you have to shoot at narrow apertures and fast shutter speeds, artificial lighting is an absolute must. But firing a bare flash creates harsh highlights on shiny exoskeletons and casts distracting shadows. The solution is severe diffusion.
Rather than building a complicated DIY rig, investing in a dedicated macro softbox makes life so much easier. Commercial diffusers that attach directly to your flash and drape over your lens force the intense light to bounce and scatter before hitting the subject.
Twin macro flash systems offer even greater control. Having two separate lights on flexible arms lets you dial in specific lighting ratios, like a strong key light and a weaker fill light, to create real depth. If you are shooting in a heavily shaded forest, try pairing these diffusers with a small white bounce card to gently fill in the dark shadows underneath the insect.

Tip 3: Master your camera settings
Finding the correct settings requires a delicate balancing act. In landscape photography, shooting at f/8 keeps the whole scene sharp. In macro, your depth of field is impossibly thin.
At 1:1 magnification, your focus plane is often just a few millimeters deep. To get a decent portion of the insect sharp, you need to use an aperture between f/11 and f/16. Don’t push it to f/22, as that introduces diffraction and ruins your overall sharpness.
Because f/11 restricts the amount of light entering, crank up your ISO to compensate. A slightly noisy but sharp image is always better than a clean, blurry one. You also need a fast shutter speed. Insects are erratic. Use a minimum of 1/250th of a second with a flash, or up to 1/1600th of a second to freeze bugs in mid-flight.
Finally, set your camera to continuous shooting mode. Firing a rapid burst of 7-10 photos per second is a game-changer. Because of the microscopic depth of field, your own breathing will cause the focus to shift. Shooting bursts ensures that at least one frame lands perfectly on your intended target.

Tip 4: Overcome optical limits with focus stacking
Ever look at a macro photo of a jumping spider and wonder how the entire body is in razor-sharp focus? The secret is focus stacking. You take a long sequence of photos of the exact same subject, subtly shifting the focus slightly deeper into the frame with every click. Specialized software then analyzes the frames and merges only the sharpest pixels into one incredible composite image.
Many modern mirrorless cameras feature built-in focus bracketing. This automated tool adjusts the lens motor in microscopic increments and fires off dozens of frames in a fraction of a second. It is blisteringly fast, meaning you can successfully focus stack live insects before they move.
If you have to turn the focus ring manually, you will absolutely need a sturdy tripod and a very still subject. For the merging process, commercial software such as Helicon Focus and Zerene Stacker is an industry standard. If you are on a budget, open-source apps like Shine Stacker offer incredible, completely free alternatives.

Tip 5: Apply entomological knowledge in the field
The most expensive macro lens in the world won’t help if you scare your subject away. Understanding basic insect behavior is vital.
Timing is everything. The absolute best time to photograph insects is early morning, right after sunrise. Insects are ectothermic, so they rely on the sun to warm up. During the cool morning hours, they are sluggish and physically unable to move fast. A slow walk will reveal sleeping butterflies and dew-covered bees that are perfectly still, making it easy to set up a tripod for a focus stack.
When approaching active bugs later in the day, move slowly and deliberately. Many insects are actively hunted by birds. Approaching them from a high, towering angle immediately triggers their instinct to flee.
Stay low and approach from a less aggressive angle to keep them relaxed. Also, please be ethical. Catching insects or chilling them in the fridge just for a photo causes immense stress. Have patience and capture their genuine, natural behavior instead.

Tip 6: Curate your composition and background
Because your field of view is so narrow, distractions behind your subject become highly magnified. Always actively scan the perimeter of your viewfinder before taking the shot.
Adjusting your camera angle by just a few degrees can replace a messy background with a smooth bokeh wash. If it is still too distracting, use a slightly wider aperture, such as f/8, and a weaker flash to blur the surroundings into a soft texture.
Compositional techniques from street photography work perfectly in the undergrowth. The classic frame-in-frame concept is highly applicable here. Shoot through a gap in the foliage or use out-of-focus flower petals in the foreground to softly encircle the insect and add immense depth to your shot.
Above all else, focus directly on the eyes. Just like in human portraiture, the viewer’s attention gravitates toward the face. Make sure the single eye closest to the lens is the absolute sharpest point in your photograph.

Tip 7: Discover subjects in local environments
You don’t need to travel to a tropical jungle to find fascinating insects. The best subjects are usually right outside your back door. Learn a bit about local botany, as many bugs are biologically linked to specific host plants. Planting native, pollinator-friendly flowers quickly turns an ordinary suburban garden into a thriving ecosystem.
Sometimes, the best approach is no hunting at all. Just find a comfortable spot near a known food source and wait. The insects you startled when you arrived will quickly return to their routines, yielding intimate photo opportunities you would never get by constantly walking around.

Tip 8: Refine your techniques indoors
When it rains or the winter cold sets in, bring your practice indoors. Creating a small tabletop studio is a stress-free way to test new diffusers and master focus stacking. Use inanimate objects like cotton fluff, sand, or preserved insects. Because they don’t move or fly away, you can take your time learning your camera’s internal bracketing menus without any frustration.

Tip 9: engage with the photography community
Photography is meant to be shared. Posting your final edits online connects you with a passionate community of naturalists and artists. Use hyper-niche hashtags related to your subject to reach dedicated enthusiasts.
Including accurate scientific names in your captions or participating in identification forums like iNaturalist is a great way to bridge the gap between art and citizen science. Look at other photographers’ work, ask for feedback, and keep experimenting. The microscopic world is an endlessly rewarding place to explore. So get out there and start shooting those frames!

12 thoughts on “9 tips to master macro photography with insects”