
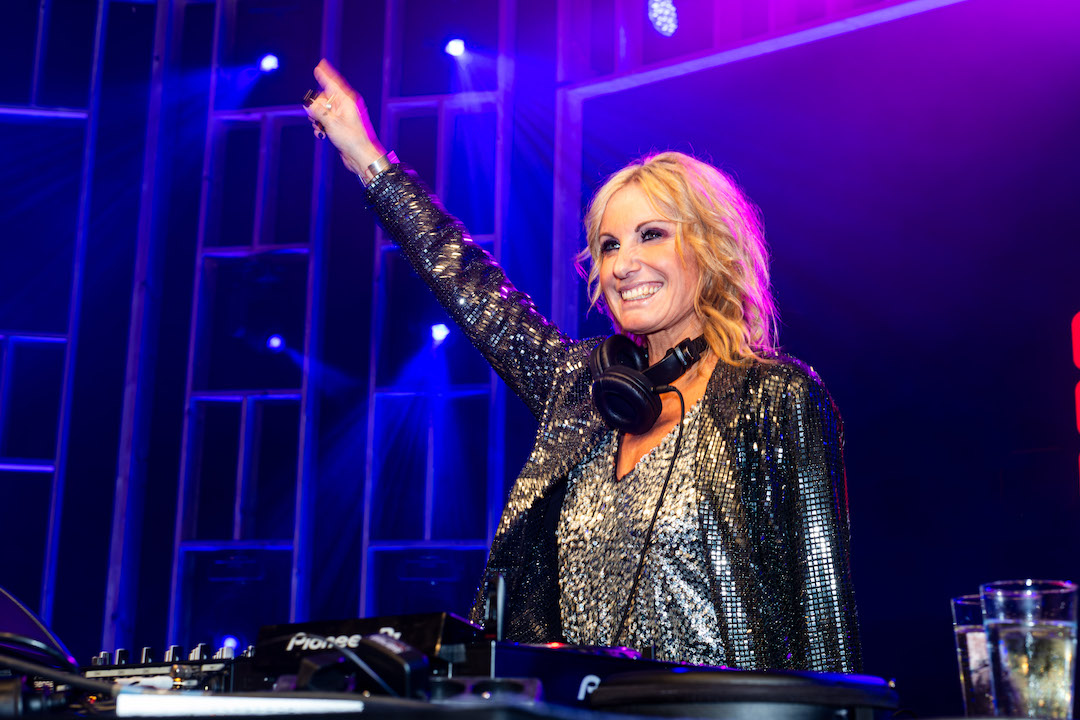
Event photography often feels daunting to get into. There are so many fleeting moments, unique opportunities to capture, and a lot of pressure to deliver. But it doesn’t have to be that way. Let’s debunk one of the trickiest hurdles beginners face: what are the best camera settings for event photography, and specifically, how do you manage your ISO?
Looking for more gear advice? If you are curious about what glass to mount on your camera for these situations, check out my guide on the Best Nikon Z Lens for Event Photography.
Understanding the exposure triangle
Before we dive into specific ISO numbers, we have to look at the bigger picture. Your camera’s exposure is determined by three factors working together:
- Aperture: How wide the lens opens. A wider aperture (like f/1.8 or f/2.8) lets in more light and blurs the background.
- Shutter Speed: How fast the camera takes the photo. A faster speed (like 1/250s) freezes motion but lets in less light.
- ISO: The sensitivity of your digital sensor. The higher the number, the more sensitive it is to light.
Most modern cameras have an ISO range from 64 to 25600 (or even higher). So, why not just bump your ISO to 25600 all the time? Higher ISOs come with a major tradeoff: digital noise. This discoloration and graininess make your image less detailed and less sharp.
What is the best ISO for event photography?
There is no single “perfect” ISO. The best ISO is the one that lets you expose your subject properly without introducing unnecessary noise. Here is a breakdown of how to use the extremes and everything in between.
When to use ISO 64 to 200
If you are shooting an outdoor corporate event or a daytime festival under bright sunlight, keep your ISO as low as possible. ISO 64 or 100 will give you the cleanest, sharpest images with maximum dynamic range.

When to use ISO 400 to 1600
This is the middle ground. If you are shooting an event in a well-lit conference hall, a tent with lots of natural light, or a heavily clouded outdoor event, this range provides plenty of flexibility while keeping noise virtually invisible.
When to push it: ISO 3200 to 25600
During indoor events, you almost always have to work in darker conditions. Venues are often dimly lit for mood or simply lack proper overhead lighting. Going up to ISO 3200 or 6400 is incredibly common.
If you are shooting in near-darkness, you might need to push your sensor to ISO 12800 or 25600. Remember this golden rule of event photography: It is always better to have a noisy photo than a blurry photo or no photo at all. Though, at this point, it’s a good idea to grab a flashlight.

Quick ISO cheat sheet
| Lighting Scenario | Suggested ISO Range | Expected Noise Level |
| Bright sunlight (Outdoors) | 64 – 200 | None |
| Overcast or well-lit interiors | 400 – 1600 | Low |
| Dimly lit venues, receptions | 3200 – 6400 | Moderate |
| Very dark rooms, night concerts | 12800 – 25600 | High |
Camera settings for indoor event photography
Indoor events are notorious for terrible lighting. To capture sharp photos of people networking, talking, and moving around, you need a solid baseline.
- Aperture: Open your lens as wide as possible to let in light. Stick to f/2.8 or f/1.8 if your lens allows it.
- Shutter Speed: Keep it at 1/125s or 1/160s. Anything slower, and you risk motion blur from people turning their heads or gesturing with their hands.
- ISO: Let it float between 1600 and 6400 to compensate for your shutter speed.
Best ISO for concert photography
Concerts add another layer of difficulty: erratic, flashing, and colored lights. The subjects (musicians) are usually moving fast, meaning you need a faster shutter speed—often 1/250s or 1/500s.
Because the lighting changes every second, Auto ISO is a fantastic tool for concert photography. Set your minimum shutter speed to 1/250s, your aperture to f/2.8, and let your camera automatically choose the ISO. Cap the maximum Auto ISO at 6400 or 8000 so the camera doesn’t push the grain too far during blackouts.

Flash settings for event photography
The ultimate solution for avoiding ISO noise is to bring your own light. Using a flash allows you to lower your ISO drastically, giving you crisp, professional results even in dark rooms. I personally use the Godox V1: it is reliable and easy to learn.
Here are a few quick flash settings for event photography:
- Use TTL (Through The Lens): This acts as an “auto mode” for your flash. As you walk around the event, the flash will automatically adjust its power output based on how close you are to your subject.
- Bounce the Flash: Never point the flash directly at someone’s face. Point the flash head up at a white ceiling or tilt it slightly backward to bounce the light off a wall. This creates a soft, flattering light that fills the room. Use a bounce card in bigger rooms.
- Lower Your ISO: Once your flash is on and bouncing, you can comfortably drop your camera’s ISO down to 400 or 800, instantly solving your noise problems.
Flashes are also lifesavers when a venue uses harsh, colored LED lights (like deep purples or greens) that make guests look terrible. The white flash light overrides the venue lighting, giving you clean, natural skin tones.

Handling the noise afterward
Even with the best camera settings for event photography, you will occasionally end up with noisy files. Noise reduction in Lightroom, especially the newer AI-powered Denoise tool, can work miracles. It analyzes your RAW files and removes grain while retaining sharp edges and details.
However, AI denoise is not an excuse to be lazy in-camera. It adds significant time to your editing workflow (Denoising one event often takes my computer an entire night) and creates massive file sizes. Prevention is always better than reduction.
Ultimately, the best settings for event photography are the ones that help you get the shot. Embrace high ISOs when you need to, but always be mindful of using wider apertures and bounced flash to keep your images as clean as possible.
5 thoughts on “Best ISO, Flash, & Camera Settings for Event Photography”