
Using an Android smartphone brings many advantages, especially in the niche of photography. There are plenty of apps to use for editing, enhancing, or even taking photos. So which one to use to make RAW photos with your smartphone?
There are a lot of apps that allow you to take RAW photos on your phone. A lot of those are either paying or not that user-friendly. For that reason, I chose two apps that are both free and great in use!
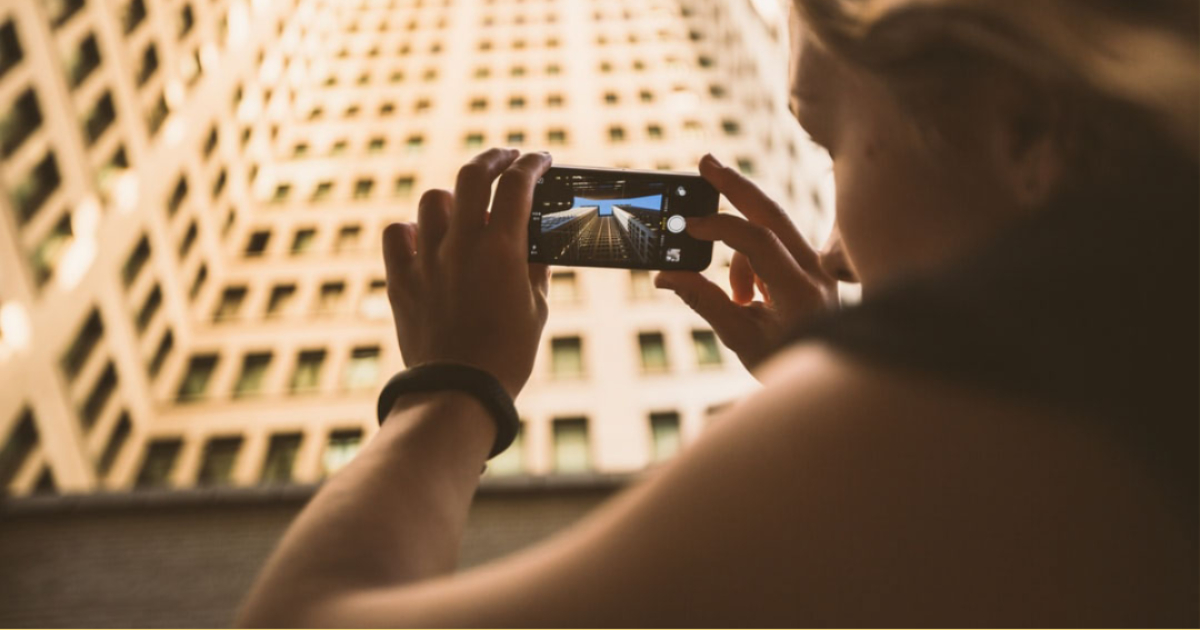
The native Android camera app
If your smartphone is recent, let’s say from the past 3 or 4 years, it should be able to take raw photos with your standard camera app. Go into the settings and see if you can find the function to do this. It’s usually hidden in the “Pro” tab of your camera.
The advantages of making your raw photos with the standard app are fairly obvious:
- You don’t have to download other apps
- It’s safe to use
- Easy integration with your camera roll
- There are regular updates
- Good functionality in case of multi-lens setups (like most smartphones these days)
Photographing RAW with the Adobe Lightroom app
The Adobe Lightroom app for mobile is one I can recommend if you are into editing your photos professionally. However, it can also take photos. You can choose between DNG (Digital Negative, which is a raw format) or jpg.
It’s also possible to go into the ‘professional’ mode, which gives you control over shutter speed, ISO, white balance, and focus.
The advantages of making your raw photos with Adobe Lightroom
- Directly edit your photos of taking them within the same app.
- Great raw files that are easy to edit to your flavor
- Good controls over capturing your images
Which one do you use? Let me know in the comments below!
Disclaimer: There is none, I just really wanted to write this piece of content for you. <3
Related content
Pin me!


6 thoughts on “Mobile apps that allow you to make RAW photos with your smartphone”