
As a photographer, you’ll get to the point you’ll have to take a group photo. For some, it’s once in a lifetime; for others, it’s a weekly thing. As one of the frequent group photographers, I’d like to help you make your first group shot.
Making group photos has several benefits. It captures a moment in time of that fun group you’re with on a trip. Or it shows your team to potential clients.
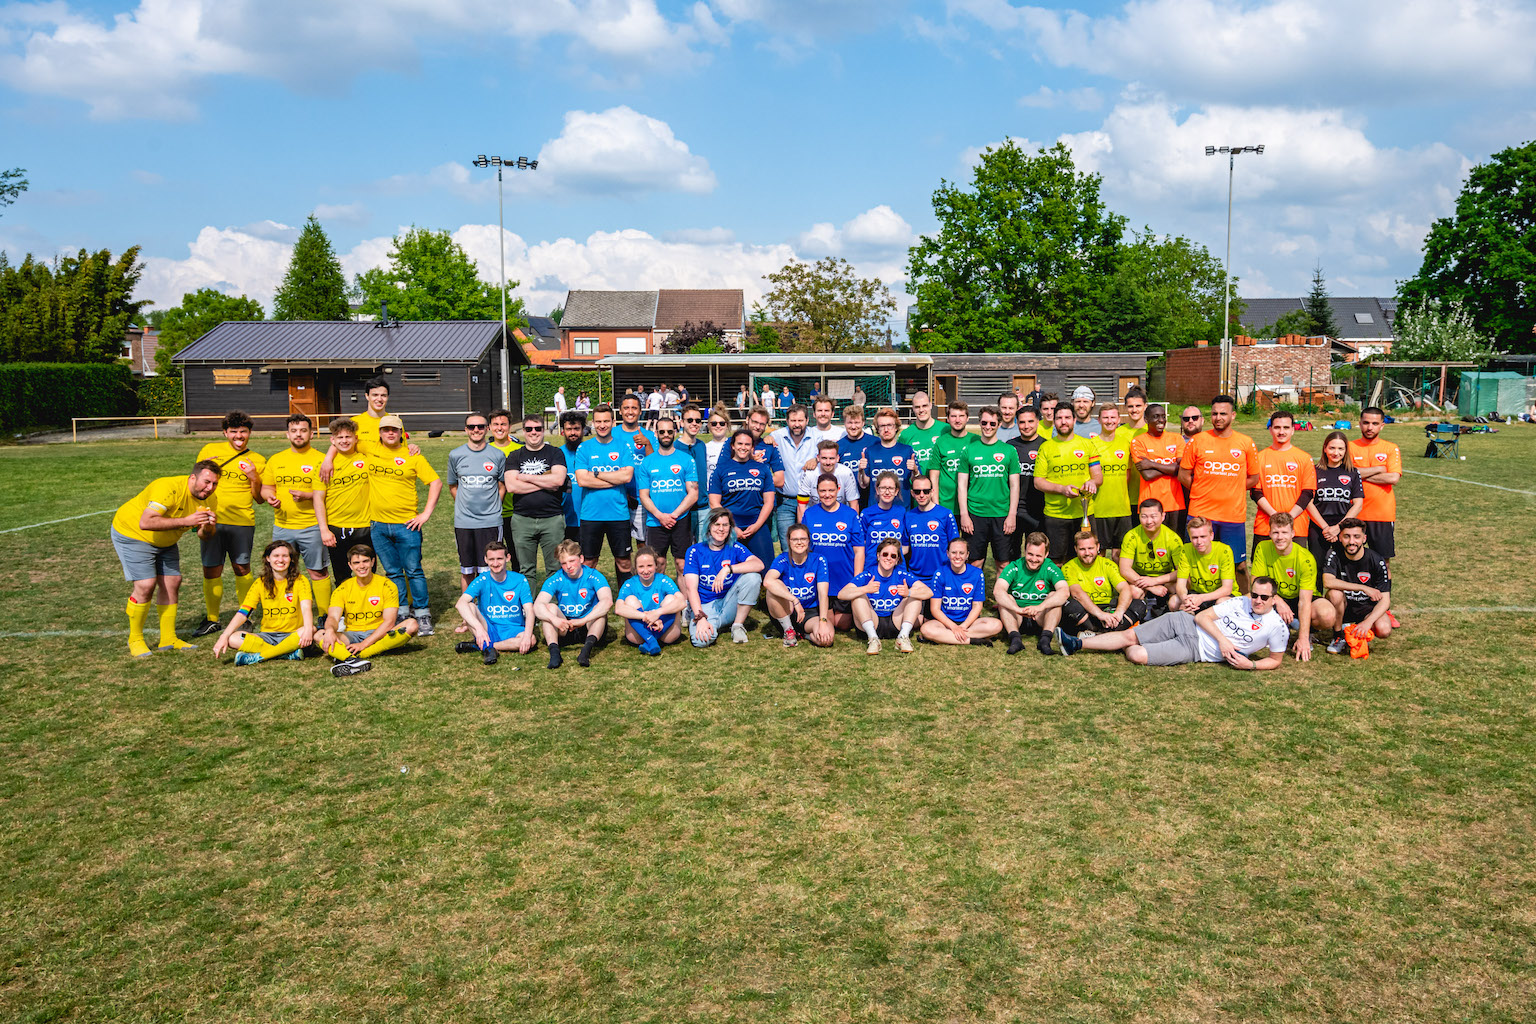
Let’s get started with creating group photos
What gear to use for a group photo
There are some things you need. Besides a camera, of course.
A medium to wide-angle lens usually works the best. Depending on your group size and location, using a wide-angle lens like a 35mm is usually the safest bet.
Even though I hate using them, I can recommend a tripod.
A tripod can help you use the trigger or timer if you need to be in the group shot.
A tripod also keeps your shot consistent. That way, you can make several shots easily. If necessary, you can stitch some photos together to ensure everyone has their eyes open and looks at the camera—something I highly recommend with bigger groups.
How to take group photos with everyone in focus – settings

The most important camera setting for a group photo is your aperture. Use a higher f-number like f8 or f11 for bigger groups.
Using a smaller aperture opening helps you make sure every one of the group is in focus in the photo.
Use a faster shutter speed, too, like 1/200 and up. It freezes the people, and it’s handy when you let them jump or do something crazy for one of the shots.
ISO, you can adjust as needed. Of course, you’d best try to keep it as low as possible. Using an outdoor location and a bright day can help with that.
Tips and tricks to make your group photos better

Let’s make any group photo better with some simple tips
1. Find the optimal timing for the group
It’s always nice to ensure no one is excluded from the photo. Timing the creation of it at the moment everyone is present and available helps. But it’s sometimes impossible.
Sometimes the entire group just isn’t available at the same time. You can try to do some photo compositing. Or you can just accept the reality that it will never be perfect and take the photo with everyone present.
2. Use a couch or seats
Depending on the couch, you can use it for a group of up to 10 people. Sitting some down and letting others stand behind it.
Letting the tallest people sit in the front might seem counterintuitive, but it equalizes their heights. Making them stand out less
3. Have people huddle up
It might feel too close for them, but for the photo, it often looks better if they are close together. Even have their shoulders touching. Make the group as compact as possible.

4. Make sure the lens can see all faces
Usually, I look through the viewfinder to see if everyone is visible, and I also ask if everyone can see the lens. Depending on how cooperative the group is, this can be enough. Direct them to move left or right a bit or swap places.
5. Shoot multiple photos of the group
You’ll soon notice that people blink a lot when doing group photos. And not all at the same time. Making several photos helps you choose an image with everyone looking good. Or you can Photoshop a composite with the best pictures.
Don’t forget to make an empty photo of just the background too. It sometimes helps you when compositing.
6. Shoot during the setup too
While still directing everyone or their place, taking some photos is sometimes fun. The chaos and funny interactions can make for good photos.
7. Build the group from the center
Whether it’s a bride, a CEO, or someone else important. Put them at the center first, then start building the group around them. It often helps for you to set up the group but also to give directions.
It’s easier to tell people to “scoot closer to the groom” than it is for them to understand “everyone at the left, go a small step closer to your right. No a bit more. More . No less again.”

8. One photographer at a time
Even if you are the official photographer for the day, someone with their iPhone is always trying to get the photo too. Ensure they understand they must wait for their turn and not to shoot simultaneously.
A group photo is already chaotic, making people confused about what lens to watch makes it only worse. And neither will have good results. So make sure everyone that needs a photo does it in their turn.
9 Obi-Wan the group
Get the high ground.
It can help to be at a higher vantage point than the group. That way, if you work in layers, people can look at the lens easier.
One thought on “How to take group photos”