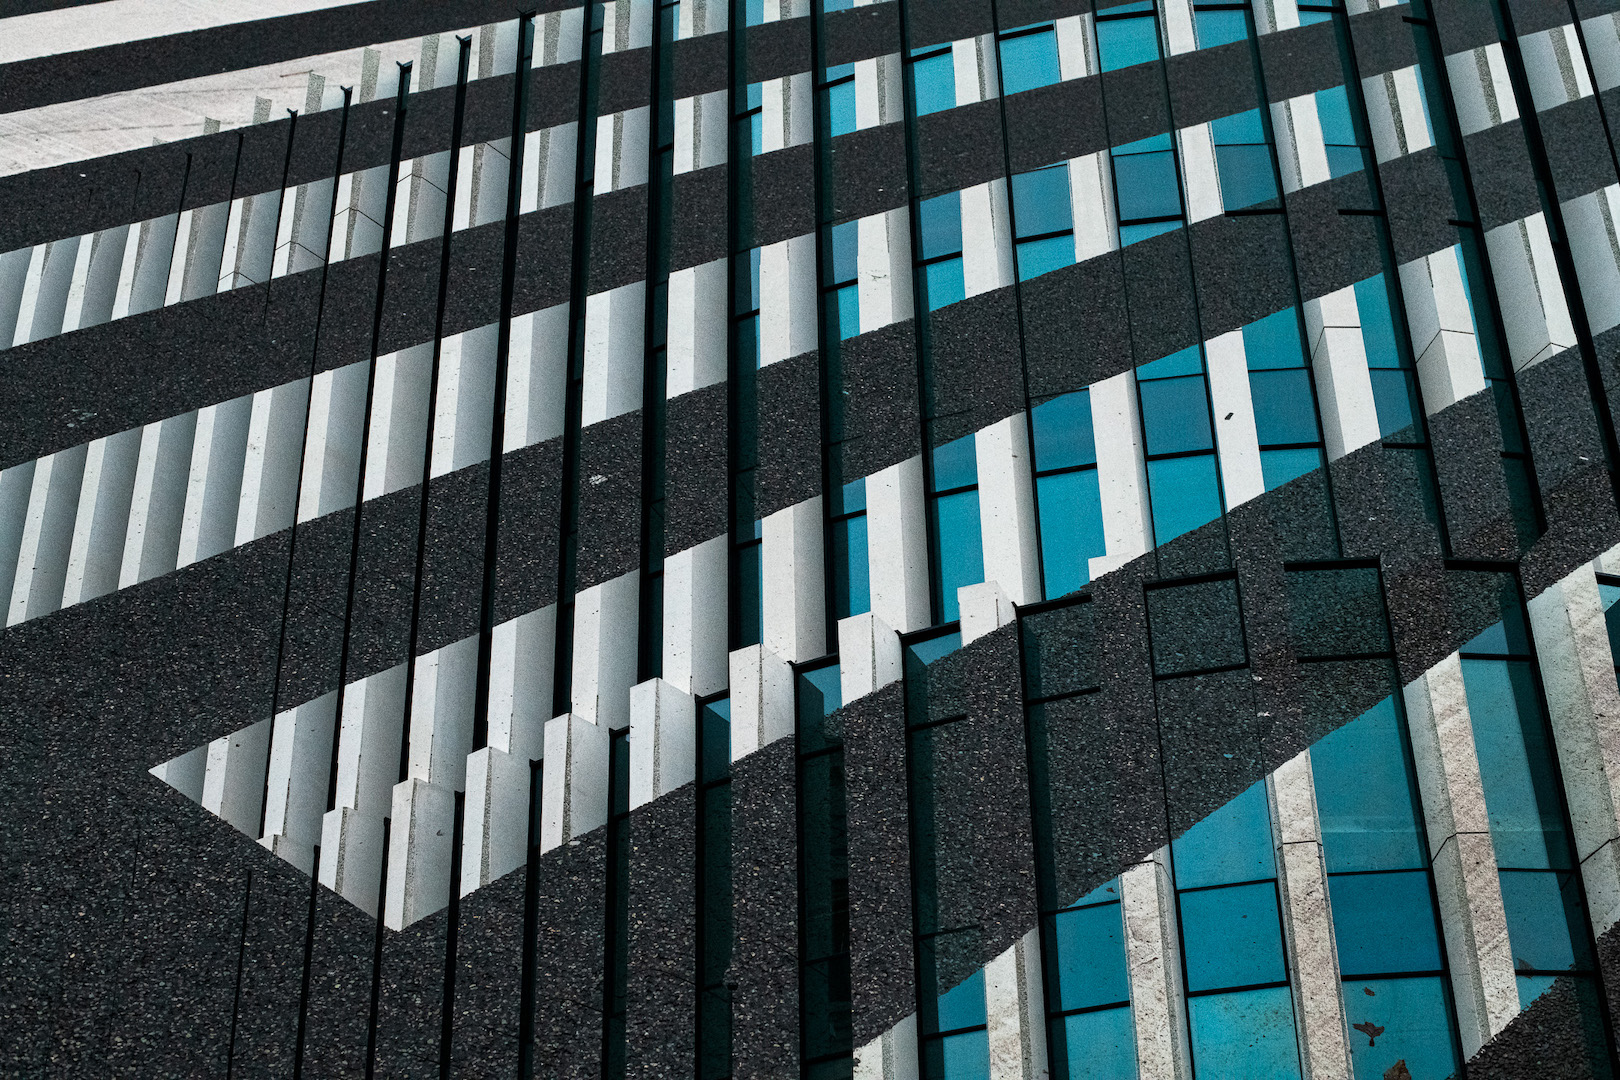
For Nikon D850 users, there is a fun and creative tool right in the camera. It’s called double exposure and can provide you with some creative photos. In this article, I will tell you how to get the results.
How to set it up on your Nikon D850
To make double exposures, you can work in different ways, and I will discuss the in-camera one in this blog post. Specifically making double exposures inside your Nikon D850.
- Turn the camera on
- Tap the menu button left of the screen
- Select the camera icon: photoshooting menu (the second icon)
- Scroll down to the third page (at the bottom of the third page) and select ‘multiple exposure’
- Turn the multiple exposure mode on (don’t forget to turn off again when youre done)
- You can choose On (series) to keep photographing double exposure untill you manually turn it off again
- Choose On (single photo) if you want to make just one and then turn back to your normal camera mode
- Choose Off if you are currently shooting double exposures and want to turn back to normal again.
- Choose the overlay mode you want to use
- Add: The two photos are put over eachother. Just like that. This might cause your photos to be over-exposed as the photos just get stacked.
- Average: This divides the gain of each photo by the amount of photos taken and then stacks all these photo’s together to a photo. Meaning that you will still have a good exposure.
- Lighten: Only the lightest pixels of the two images will be used.
- Darken: Only the darkest pixels of the two images will be used.
- Lastly: select if you want to keep all exposures or not. This means that, if turned on, the camera will also store the original separate photos. I think this is usefull as you might make photos you want to keep or if you want to make a better blend in Photoshop later.
Learn more about the different blendmodes and how they work in this video
Making your Double Exposures in Photoshop
With the ‘keep all exposures’ setting on, you get the composite and separate photos. This can be very useful as working in the box might be limiting. Especially as you come across a scene you quickly have to photograph, but you’re still in a blend mode that’s not very useful for this specific situation.
No worries then; you can still recombine the original photos later.
It’s also helpful to work on this to clean up some photos or combinations. It might be that the positioning of the two images isn’t perfect. Or that you want to remove some elements from one shot. Or add some more from the other.
In Photoshop, you can overlay and mask the photos however you want.
Why I did these double exposures in camera?
With Photoshop on my laptop, why did I still choose to do the double exposures inside the Nikon D850? Well, for me, it wasn’t the aim to get the perfect shot.
I wanted to experiment with this tool and see how I could use it, and I also just wanted to train my brain and vision. Doing it all in-camera forced me to think about every shot I would make. What would I blend it with? What blend mode should I use for the best result? And how should I frame the photo for the best overlay?
Of course, doing it in Photoshop afterward doesn’t remove these questions from the thinking process. But it does allow you to be more ‘sloppy’ while shooting.
Tips for doing double exposure photography
Starting with double exposure photography can seem overwhelming. Especially if you decide to do it all in-camera, but go ahead. Making mistakes is the only way to learn, and that’s how I did it.
The photos in this article are from my first tryout. So they are far from perfect. Yet I feel good enough about them to present them to you.
I will give a couple of tips to get you started to get some idea of where to start your thinking process.
Keep the backgrounds simple
Using a simple background can help you prevent getting those muddy double exposures. Having clean photos is visually more pleasing and can also help you figure out the different blend modes better.
Plan you shots in advance
Think about what you are going to combine. If I see something interesting, I look around for something else that I can use with it before even taking the shot. This way, you can figure out how to frame both photos and what blend mode will be the best for you.
Avoid overlap in your subjects
If the subject of photo one is framed on the left, then it’s only natural to frame your second subject to the right. Unless, of course, that overlap is critical for the success of your photo. But in general, it’s best to keep it at the side.
Expose your photos to match with your blend modes
This one is convenient for the ‘add’ mode. As two bright photos together will only get brighter in that setting. So maybe underexposing can prevent you from having an utterly overexposed shot. Even if you only underexpose with only a third of a stop.
I’m looking forward to seeing your results! Please tag me on them on Instagram (@fredpaulussen), so I can see them!


2 thoughts on “Double Exposure photography in-camera with the Nikon D850”